In this video, you’ll learn how to create a beautiful Polaroid emulsion lift onto watercolor paper using simple tools and instant film. This classic analog technique lets you peel and transfer the delicate emulsion layer from a Polaroid photo to create one-of-a-kind, textured prints. Perfect for artists, photographers, and anyone who loves hands-on creative processes.
🎞️ What You’ll Learn:
How to prep your Polaroid for lifting
The ideal water temperature and timing
Transferring the emulsion to watercolor paper
Tips for shaping, smoothing, and drying
Optional finishing ideas
📸 Great for use in mixed media, fine art prints, or adding analog depth to your photography practice.
If you enjoy experimental photography and alternative print techniques, be sure to like, subscribe, and hit the bell for more creative tutorials!
#PolaroidEmulsionLift #FilmPhotography #AlternativeProcess #InstantFilmArt #DIYPhotoTransfer
Here is a list of step-by-step instructions on how to do your own Polaroid Emulsion Lift. It is free of extra chemicals (only water is used) and a super fun activity for all ages.
Here are the step-by-step instructions:
**Polaroid Emulsion Lift – Step-by-Step**
* **Cut edges** off the Polaroid to expose the photo layer.
* **Cut Metal Clip** Small clip to separate with exacto knife.
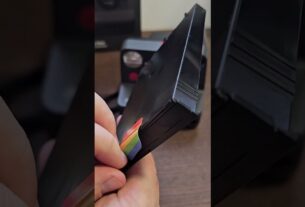
* **Peel top layer** (emulsion) be gentle and patient.
* **Heat water** to ~160°F (70°C) in a shallow tray.
* **Soak photo** for 5–10 mins, use brush, agitate the water
until the layers separate.
* **Water color paper is in cold water** to stop the process & stabilize.
* **Slide emulsion** onto damp watercolor paper.
* **Shape & smooth** with a brush and fingers.
* **Let dry** flat for 24 hours.
* **Optionally seal** with matte medium once dry.
* **Fresh Polaroid** fresh Polaroids are easier to separate vs old